

Welcome to part 2. This is the sewing part if you missed the first part then pop over to Part 1: Big baby gro to mini baby gro (pattern making).
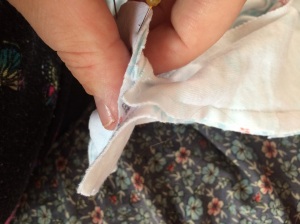
First we start with the facing. Pinning the patterned sides of both together and sew just at the neck line. Flip to inside (second picture) and top stitch along neck line and also around curved edge.


Laying the edges of sleeve and side sew from wrist to ankle on both sides and from neck to wrist at the shoulders.

Next we need to do the cuffs. Get your rectangles and fold in half widthways (wrist measurement edge in half) and sew. Fold over so you have a tube with patterned outer and inner.
Pop inside the sleeve. Gro should still be wrong side out. With a bit of stretching and patience you need to sew the cuff to sleeve as shown. When pulled out it should look like this.


Now turn the gro right way out and lay your top front section with right side to leg straight edges matching. Sew into place. Now you need the gro or at least the leg section inside out again.
Start placing the sole section onto top front section matching the curves ensuring patterned sides face.

This is the slightly tricking bit but flatten the longer leg section (back) so you can continue pinning sole. Heres some pictures to help explain what I mean. You will find the long part is in excess this is ok. You can trim that off later.


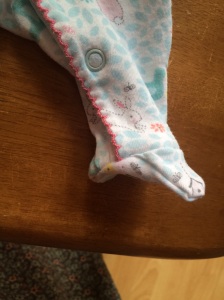
To sew you are best starting just before where the sole meets the inside or the outside leg seam (see above picture side view). Start with rest of gro behind the machine (first picture) and sew round to next side seam (second picture). Keeping needle in the material lift foot and flip your gro to the back again. Finish sewing the sole.
Doing this stops any part of the gro catching in foot and gives a neater finish to the side parts. How it should look turned out.


You’re done! Once you’ve done all the annoying workings out and drawing it’s a very fast project. I found as this is my first gro with a neck facing and not binding that it gaped so I would recommended using a stretch binding that you pull on slightly when sew which in turn tightens that neck line. Otherside add more to shoulders to bring it in closer to body.


We look forward to seeing your success and any tips you can offer me or others over on our facebook page.

