You will need
*sweet or biscuit tin/tub or other round tub your small doll can fit in *wadding/batting *material I used about 2 FQs (1/2 metre) *hot glue * needle and thread *sewing machine * felt *tape measure.
Now don’t be put off yes I used my sewing machine for mine but you don’t have to as long as you tuck in your cut edges you can pretty much glue all of this. I’m not great with my hands and found it easier to sew many steps.
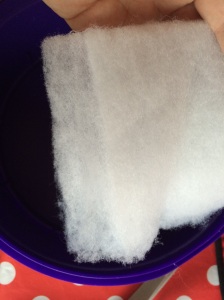
First measure your wadding. I did this by hand using my tub. You may wish to cover the whole tub or just the inside. I chose to cover the rim of the tub and half down the outside and all of the inside.
Measure by placing your tub on the wadding to determine width. Measure the outside for length.
Inside is tricker I found by tracing round the tub I could determine how big it was inside then to work out the inside circumference I used the diameter of circle (straight across centre) x pi (3.141) and I got the circumference.
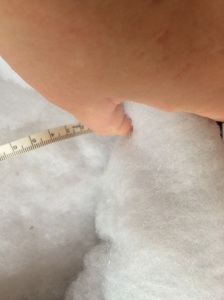
You will find the inner is smaller so if you are cover like mine you will need to angle the short edges where the wadding meets. (picture 2)
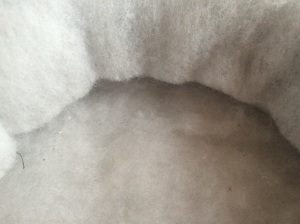
I wish I had done some steps differently. I started by putting the base wadding in then the edges I would recommend putting your edging wadding on first. Glue in place making sure its secure and don’t get burnt 😉
When you reach the join I recommend separating the layers slightly and cutting about 1/2 inch off so you get like a step. Do each sides opposite so when you glue together it’s same bulk as rest. Or you can have your ends to meet instead of overlap.
First is overlapped normally second is overlapped with the step cut into it
Glue the wadding to the inside before gluing to attach to outside
My wadding is quite thick so I will be pushing it in when I cover it. You now need to remeasure. The outside were the wadding is, inner circle pushing the wadding in slightly and finding the circumference like above.
I had to patchwork different materials together partly as not a single one was long enough but also because I wanted to and it was perfect excuse.
I cut the outer the same length as were wadding sits, base for inside and out and an inner cover based on circumference I worked out. The height of each I determined by measuring from same point to base (inside and out).
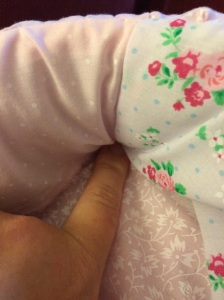
If you have one piece sew your short ends to create a ring. Now on mine the bottom of the tub is thinner than were the wadding sits because of how I stuck it on so I created a box pleat in the edge as shown before I sewed it to the base.
Next sew 2 handles. I put pattern sides of long part together, sewed and turned out. Make sure they are opposite or when you pick it up the handles will be useless. I added handles so I can pick Elva up in it safer but you can omit these if wish. At this point you can see the outside is sewn to base and applied to tub. It may seem loose on base at this stage but will be tighter once inside is sewn on.
I pulled the outside over so it covered the lip of the nest and pinned the inner on. I then hand sewed it on. You can glue this if you wish or even sew it on with a machine. This was easier way for me.
This is why I wish I hadn’t glued the base before the side sections. One because it would have made this step simpler but it certainly would have been tidier. You need to glue it as far down as will go and tucked in.
As it was a mess I took out the pink base so the wadding was left and cover with a felt circle that wont fray. It’s not perfect and I wish I’d done all the steps then make a padded cushion for base but I’m not type to try it, repeat it to perfect then blog. I blog as I make it so you get to see my mistakes and improve my idea.
As you can it’s the perfect size for Elva who is 7 inches. She can just about lie down in it and has great head support when sat up! She can also be transported around safely too which is important in this household.


